Event are common with small businesses, and yet the necessary website functionality for online event management can be complex and unwieldy. Sometimes you're best off paying for a third-party event solution, but Squarespace has you covered for most everything else.
The Squarespace calendar widget presents a lightweight, yet effective solution to most of your basic and moderate event management needs, and can be combined with other parts of Squarespace to support your entire event workflow.
Step 1: Create an Events Collection
The first step in using the Squarespace Calendar widget for event management is to create a collection on your Squarespace website that will be used to build each of your individual event landing pages. Create an events collection using a blog (free and paid events), products (paid events only) or possibly a gallery (special events) page type.
Gallery, Blog, and Products page types can be used to support the Squarespace Calendar.
In this example we'll create a blog page type called Events to build our event landing pages for an imaginary series of happy hours throughout the month of march.
Step 2: Build Your Event Calendar Page
Next up, create a new page on your Squarespace website to serve as your main events landing page that tells people about all of the events you plan to host. Include text and photo blocks to let people know what to expect at your events, and maybe a social media block to make sure everyone is connected.
This event landing page promotes our happy hour series.
I've created a page that promotes my happy hour series here. Now I'll need to add in the Squarespace calendar and events widgets.
Step 3: Add Your Squarespace Calendar to Your Event Page
Add a calendar block to your main event landing page (the Calendar block is in the Structure tab). In this example, I've located the Events blog page type I created earlier and selected it for use with my calendar widget.
Drag a calendar block onto your event landing page and select the collection corresponding to your events pages.
Position your calendar block to your liking. You can pull in other widgets from the Structure tab of the new blocks interface to your events landing page as well, including the Summary block. Take full advantage of LayoutEngine and your imagination when making your landing page so your events end up looking fun, inviting, and informative.
Step 4: Create an Event
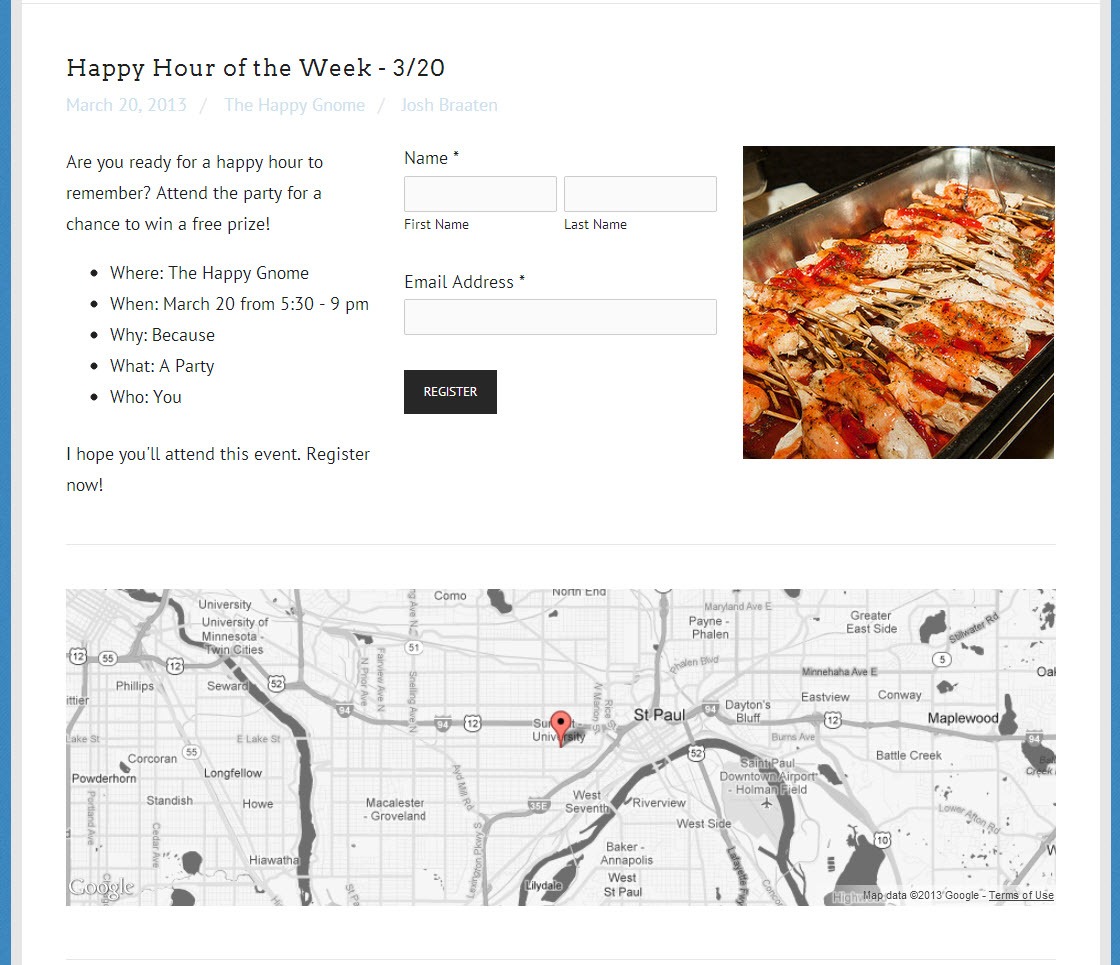
Now we're ready to create individual events. To draft the first event, I created a new blog post within my Events blog and included some text, an image gallery consisting of a few photos, a map widget configured to highlight my event venue, and a custom form with name and email address fields set to display. I set the publish date/time to correspond to my event date/time and then published the blog post.
Now folks have an easy way to register on my blog for free events.
Step 4 Appendix: Capturing Event Registrations
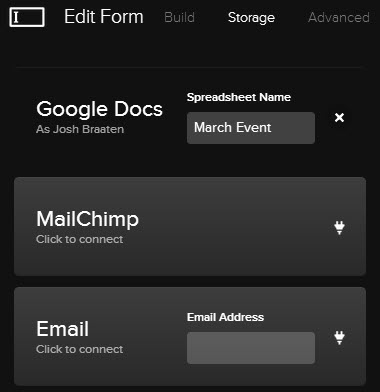
You'll want to send successful registrations to a place where you can use them later (e.g., email reminders and post-event surveys). The Squarespace form block configuration includes options to send your captured submissions to your inbox, a Google Drive spreadsheet, or a custom list in your optional connected MailChimp account.
In this example, I just need a simple spreadsheet to keep track of who is going to my events, so I decided to use a Google Drive spreadsheet.
Send registered attendees to your inbox, a spreadsheet, or MailChimp subscriber list.
Step 5 (Optional): Create a Paid Event
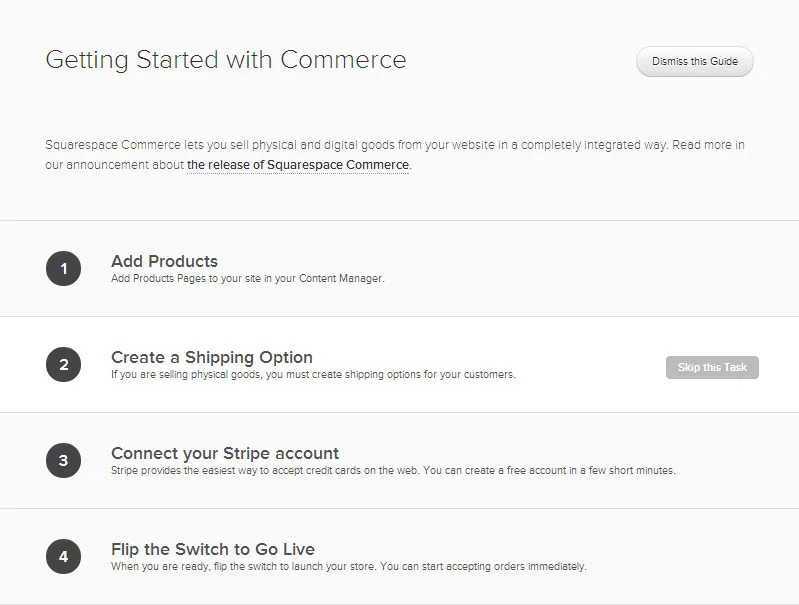
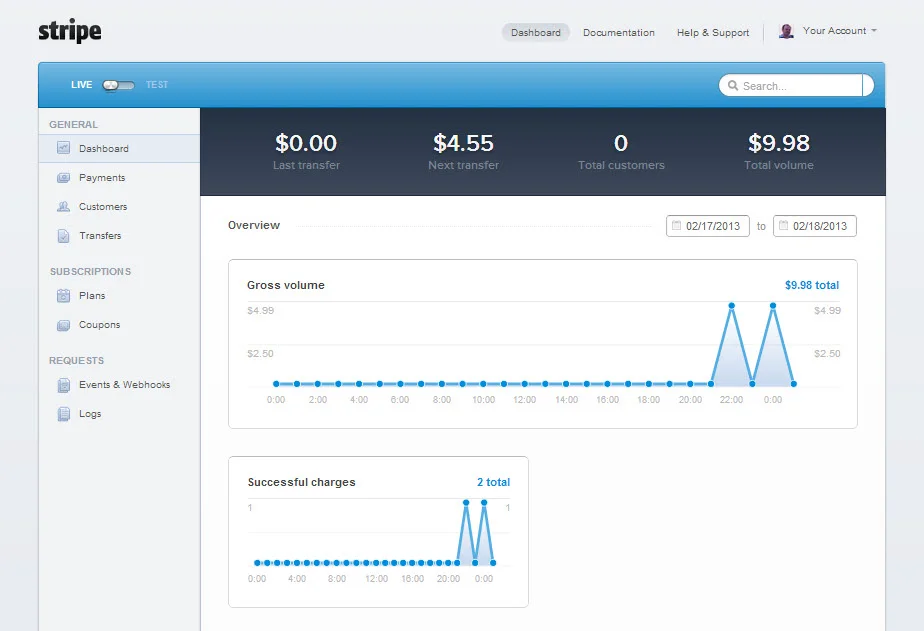
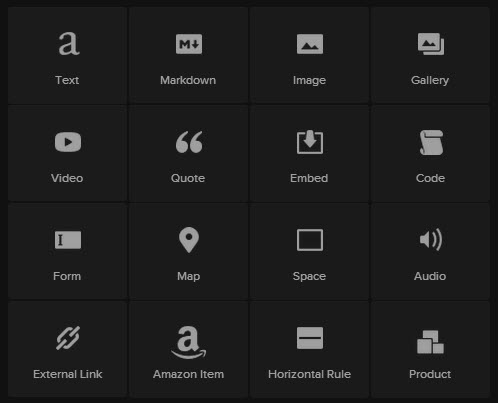
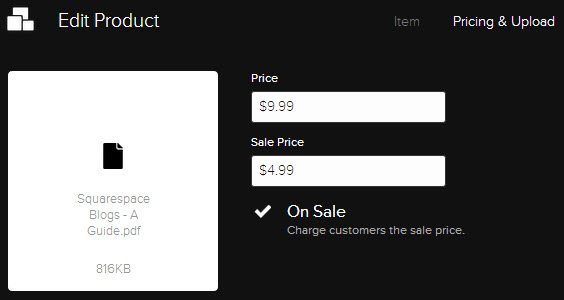
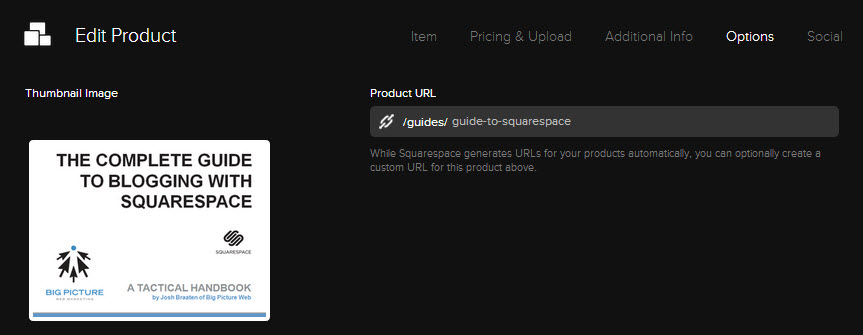
Not every event will be free. Sometimes you'll want to charge attendees, and Squarespace provides you with multiple options here, too. For paid events, simply create another blog post within your Events blog and add in all the vital information. When it comes time to collect payment for tickets, you can either embed registration details from popular services such as Eventbrite, or you can use the digital products product type in the new Squarespace commerce tool set.
Create a paid event landing page using Squarespace commerce digital products for your online tickets.
The Future of the Squarespace Calendar and Events
In its current state the Squarespace calendar widget is versatile and lightweight, but may leave serious event planners wanting more. I hope Squarespace continues to build on to the already neat functionality the Squarespace calendar widget, and think they should completely build out their events solutions over time. A full-on partnership/integration with Eventbrite would be amazing, and isn't out of the question given the existing partnership between Eventbrite and MailChimp.
What needs do you have for managing events and calendar-based content on your Squarespace website?


